How to Wallpaper a Wall: A Beginner’s Guide
DIY DOJO is reader-supported. We may earn an affiliate commission when you buy through links on our site. Find out more.
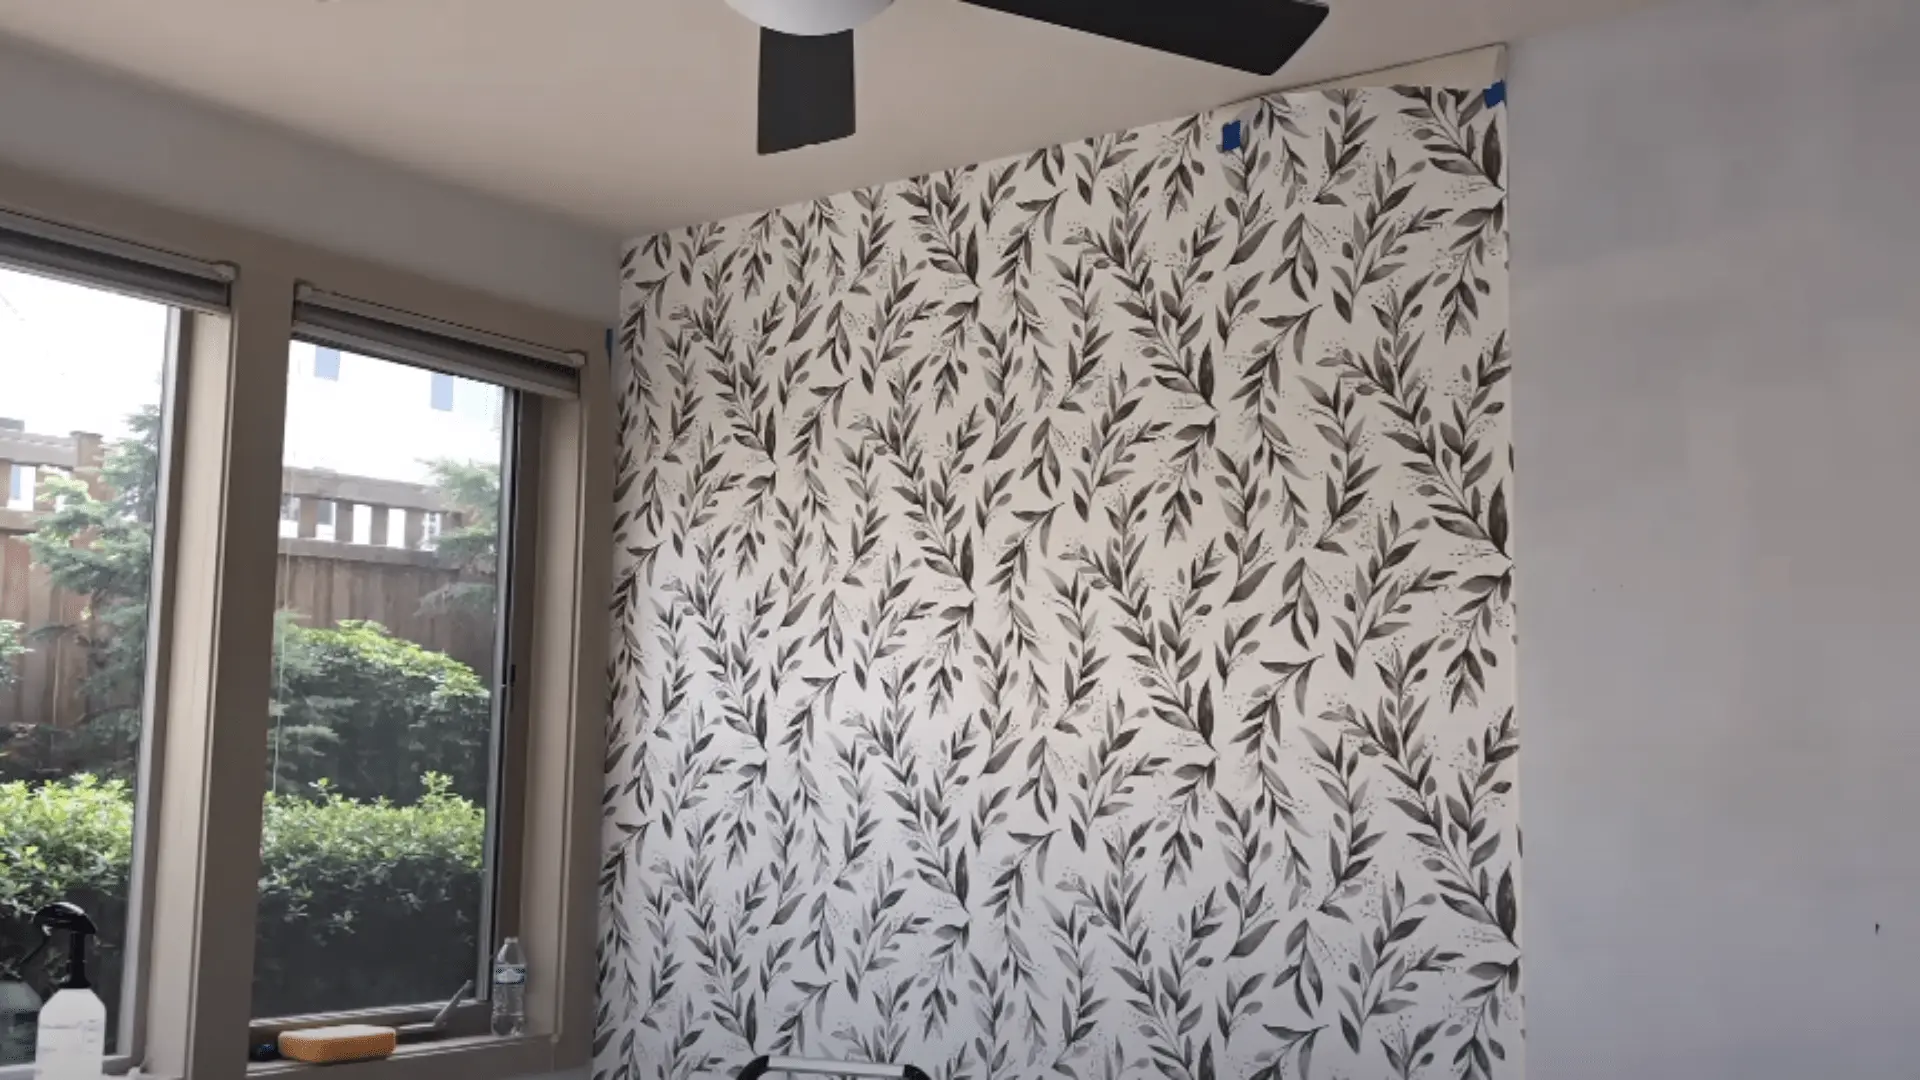
How to wallpaper is a fun and easy way to transform the look of any room in your home. Whether you’re looking to add some color, texture, or pattern to your walls, wallpaper can do it all. The benefits of wallpapering are many, including the fact that it’s a quick and cost-effective way to update the look of a whole room.
Wallpaper is also a great way to cover up imperfections on feature walls, such as cracks or dents. Another benefit of wallpaper is that it’s available in a wide range of patterns and designs, from classic floral prints to bold geometric shapes.
You can choose from a variety of textures as well, including smooth, embossed, and flocked. This makes it easy to find wallpaper that matches your personal style and the overall aesthetic of your home.
Materials and tools needed for wallpapering
To get started with wallpapering, you’ll need a few basic materials and tools. These include:
- Wallpaper
- Wallpaper paste
- Wallpaper brush or roller
- Smoothing tool
- Tape measure and ruler
- Scissors or a wallpaper knife
- Ladder or step stool
- Sponge or damp cloth
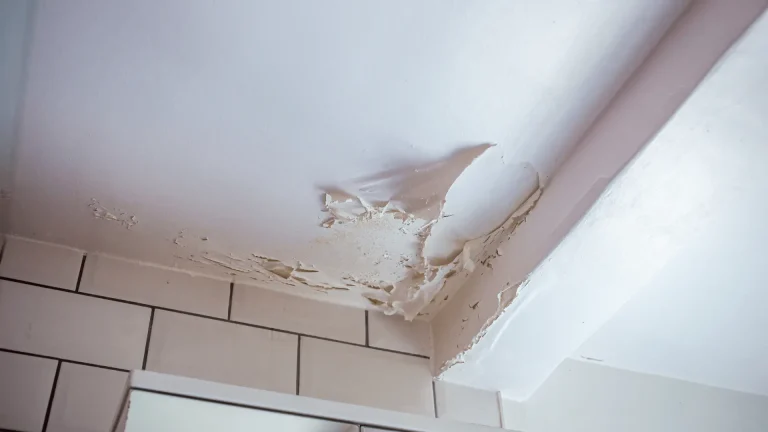
By gathering these materials and tools, you’ll be ready to start wallpapering your old wallpaper or flaking paint and transform the look of any room in your home.
Wallpapering a Wall: Preparing the Wall
Before you begin hanging the paper, it’s important to prepare your walls properly. This will ensure that the wallpaper goes on smoothly and stays in place. Start by removing any old wallpaper, if necessary, and filling in any holes or cracks with the spackle. Sand down any rough spots and wipe the walls clean with a damp cloth to remove any dust or debris.
If you’re wallpapering a newly painted wall, be sure to wait until the paint has completely dried before hanging your wallpaper. This will prevent the new wallpaper from peeling or bubbling.
Measuring and cutting the wallpaper
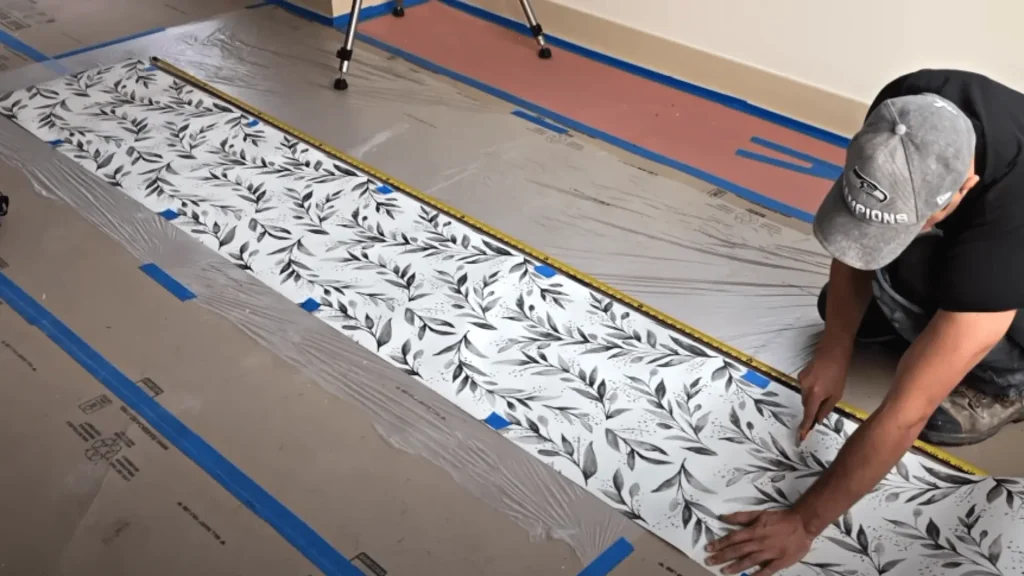
Measuring and cutting your wallpaper is an important step in the wallpapering process. It can be frustrating to cut your wallpaper too short or too long, so take your time and measure twice before cutting.
Start by measuring the height of your wall and adding a few inches to account for trimming. Cut your wall – check the pattern correctly if applicable. Then, measure the width of your wallpaper and cut it to the appropriate length, leaving a few extra inches on either side.
To cut the wallpaper, use a wallpaper knife or scissors and a straight edge, such as a ruler or piece of cardboard. Make sure to use a sharp blade to prevent tearing or fraying.
Cutting around obstacles such as windows, doors, and electrical outlets can be tricky. Measure carefully and make small cuts as needed to fit the wallpaper length around these obstacles. Remember to cut the wallpaper slightly larger than necessary to ensure a good fit.
Measuring and cutting your wallpaper can be a time-consuming process, but taking your time will ensure that the wallpaper goes on smoothly and looks great in the end. Don’t be afraid to ask for help if you need it, and take breaks as needed to avoid frustration.
Applying wallpaper paste to the wallpaper and hanging wallpaper on the wall
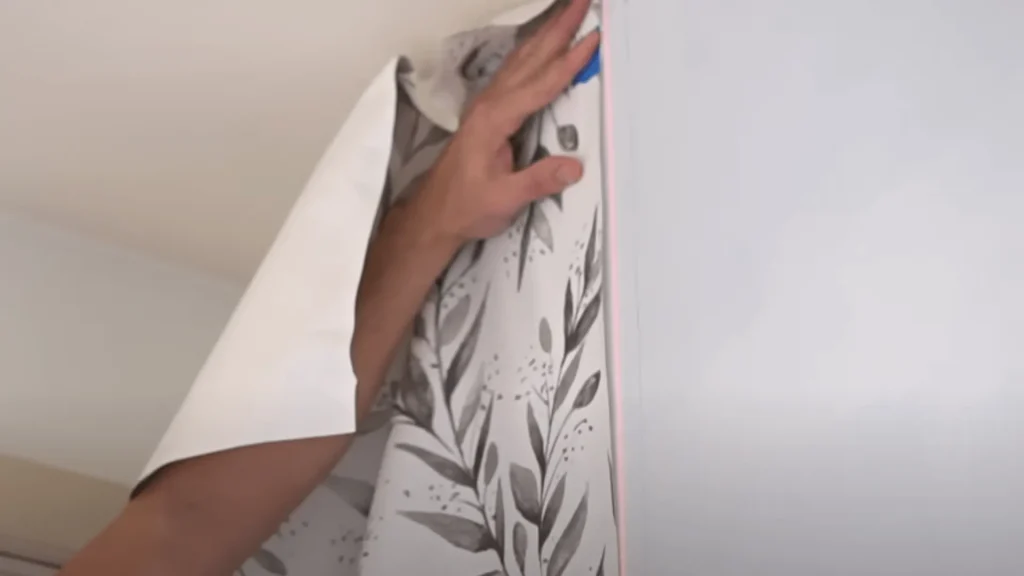
Now that your wall is prepped and your wallpaper is cut, it’s time to start wallpaper hanging! Begin by applying wallpaper paste to the back of the wallpaper. You can either apply the paste directly to the length of the wallpaper or use the paste-the-paper wallpaper technique, where you apply the paste to the wall instead.
If you’re using pre-pasted wallpaper, you’ll need to activate the adhesive by soaking the wallpaper roll in water according to the manufacturer’s instructions.
Once the wallpaper is coated in paste, carefully align it with the top of the wall and press it into place, smooth the paper to remove any air bubbles as you go. Use a wallpaper brush or smoother to press the wallpaper firmly against the wall and remove any air bubbles. Be sure to align the pattern correctly if applicable.
As you hang each piece of wallpaper, make sure to line up the edges with the previous piece and smooth out any wrinkles or air pockets. Remember to work carefully to avoid tearing the wallpaper.
Trimming excess wallpaper and smoothing out any air bubbles
After you’ve hung all of your wallpaper to the wall, it’s time to trim the excess and smooth out any remaining air bubbles. Use a wallpaper knife or scissors to carefully trim any excess wallpaper strip along the edges of the wall, being careful not to cut into the wall itself.
Next, use a wallpaper smoother to press out any remaining air bubbles or wrinkles. Work from the top of the wallpaper down to the bottom, using even pressure to ensure a smooth finish. Be sure to work carefully around any obstacles such as windows or doors.
Don’t be discouraged if you encounter a few stubborn air bubbles or wrinkles. You can use a needle or pin to puncture the bubble and release the air, then smooth it out with your wallpaper brush or smoother.
Applying wallpaper can be a time-consuming process, but the end result is worth it! Enjoy your newly wallpapered room and take pride in your DIY skills.
If you’re looking to give your MDF furniture or trim a new lease on life with a fresh coat of paint, “Can You Paint MDF With Emulsion? – Essential Advice For DIYers” provides crucial tips and expert advice to help you achieve a smooth, even finish.
Wallpapering corners and around obstacles
Wallpapering corners and around obstacles such as windows, doors, and electrical outlets can be a bit tricky, but with the right technique, it’s a breeze!
When wallpapering corners, it’s important to start with a plumb line. Measure the width of the wallpaper and mark a straight line from the corner outwards. This line will serve as a guide when hanging the strip of wallpaper.
Next, apply the paste to the wallpaper and hang it straight on the wall, starting from the corner and working your way out. As you work, carefully align the pattern and smooth out any air bubbles. Once the first piece is in place, hang the next piece, making sure to overlap the first piece slightly in the corner. Use a wallpaper knife or scissors to trim any excess wallpaper along the corner.
When wallpapering around obstacles such as windows or doors, measure the width of the obstacle and cut the wallpaper to fit. Apply the paste to the wallpaper and hang it on the wall, smoothing out any air bubbles as you go. Use a wallpaper knife or scissors to carefully trim any excess roll of wallpaper around the obstacle.
How to Hang Paste the Wall Wallpaper
Paste-the-wall wallpaper is a type of wallpaper that requires you to apply the adhesive directly onto the wall rather than showing through the wallpaper back itself. This can put up wallpapering process easier and less messy.
Here’s a step-by-step guide on how to hang ‘paste the wall’ wallpaper:
- Prepare the Wall Make sure the wall is clean, smooth, and free of any debris. If there are any bumps or cracks, fill them with spackling paste and sand them smoothly. If the wall is painted, give it a light sanding to help the wallpaper adhere.
- Measure and Cut the Wallpaper Measure the height and width of the wall and add an extra few inches to both measurements to allow for trimming. Cut the wallpaper to the correct size using a sharp pair of scissors or a wallpaper cutter.
- Apply the Adhesive Apply the wallpaper adhesive to the wall using a roller or a brush. Be sure to cover the entire area where the wallpaper will be applied. If you’re working with a large wall, it may be helpful to work in sections.
- Hang the Wallpaper Carefully hang the wallpaper onto the wall, aligning the top edge with the ceiling or cornice. Smooth out any air bubbles or wrinkles with a wallpaper brush or a soft cloth. If the wallpaper needs to be adjusted, gently peel it off the wall and reposition it.
- Trim the Edges Use a sharp utility knife or a wallpaper cutter to trim the excess wallpaper from the top and bottom edges. Be sure to cut along the edge of the wall, leaving a small overlap at the ceiling and skirting board.
- Repeat the Process Continue hanging and trimming the wallpaper until the entire wall is covered. Be sure to match the pattern of the wallpaper as you go.
- Clean Up Once you’re finished, clean up any excess adhesive with a damp sponge or cloth. Allow the wallpaper to dry completely before moving any furniture or decorations back into the room.
By following these steps, you’ll be able to hang ‘paste the wall’ wallpaper like a pro. With a little practice, you’ll soon be able to tackle more complex wallpapering projects with confidence.
How to Wallpaper Around a Light Switch Plate
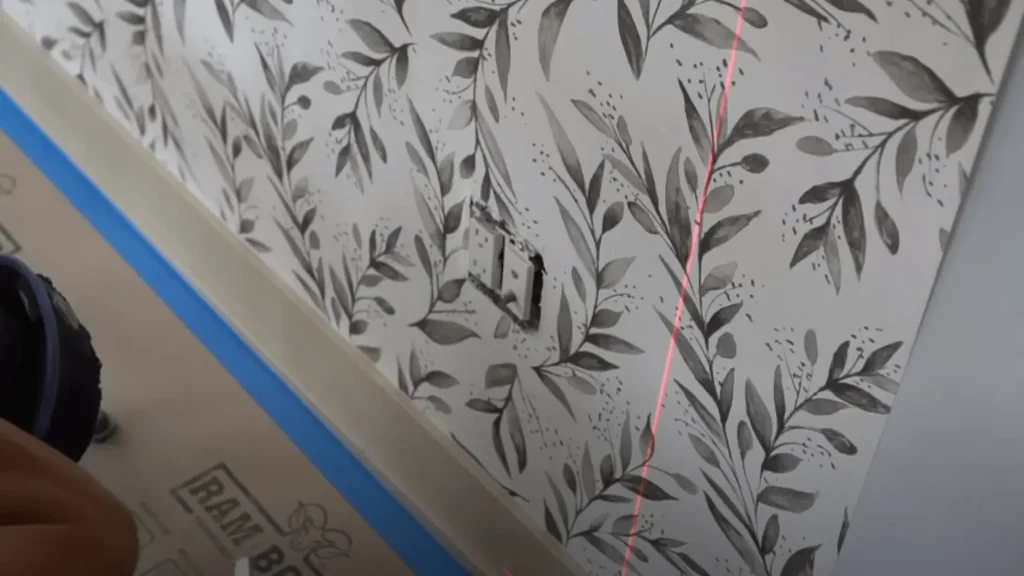
Wallpapering around a light switch plate may seem like a tricky task, but it can be done with ease if you follow these simple steps:
- Turn Off the Power: Before you start working, turn off the power to the switch and remove the switch plate cover. This will ensure your safety while wallpapering.
- Measure and Cut the Wallpaper: Measure the area around the light switch plate and cut the wallpaper to size. Be sure to leave enough excess wallpaper to work with.
- Apply the Adhesive: Apply wallpaper adhesive to the area around the switch plate using a brush or roller. Be sure to cover the entire area where the wallpaper will be applied.
- Hang the Wallpaper: Carefully hang the wallpaper onto the wall, making sure to align the pattern with the surrounding wallpaper. Smooth out any air bubbles or wrinkles with a wallpaper brush or a soft cloth.
- Cut Around the Switch Plate: Use a sharp utility knife or scissors to cut an “X” in the wallpaper where the switch plate will go. Be sure to cut through the excess paper at the top, but not through the wallpaper that’s already on the wall.
- Smooth the Wallpaper: Gently push the wallpaper down onto the switch plate and smooth out any air bubbles or wrinkles. Use a wallpaper brush or soft cloth to smooth the wallpaper around the edges of the switch plate.
- Trim the Edges: Use a sharp utility knife or scissors to trim the excess wallpaper from the top and bottom edges of the switch plate. Be sure to cut along the edge of the plate, leaving a small overlap at the edges.
- Reattach the Switch Plate: Once the wallpaper in your home has dried completely, reattach the switch plate cover and turn the power back on.
By following these steps, you’ll be able to wallpaper around a light switch plate with ease. With a little patience and practice, you’ll soon be able to tackle more complex wallpapering projects.
Common mistakes to avoid when hanging the wallpaper
Wallpapering can be a fun and rewarding DIY project, but it’s essential to avoid common mistakes to ensure a professional-looking finish. Here are a few common mistakes to watch out for:
- Skipping the prep work: Prepping the wall is essential for a smooth and long-lasting finish. Don’t skip this step!
- Overlapping the wallpaper: Overlapping wallpaper can create unsightly bumps and ridges. Be sure to align the edges of each piece of wallpaper precisely.
- Not smoothing out air bubbles: Air bubbles can ruin the look of your wallpaper. Take the time to smooth out any bubbles as you work.
- Cutting wallpaper too short: Cutting wallpaper too short can leave unsightly gaps along the edge of the wall. Be sure to measure and cut carefully.
- Rushing: Take your time and work carefully. Rushing can lead to mistakes and a less-than-perfect finish.
By avoiding these common mistakes and following the steps outlined in this guide, you’ll be able to wallpaper the entire room like a pro in no time!
Conclusion and final tips for successful install wallpapering a room
In conclusion, successful wallpapering requires careful preparation, measurement, and application. Take your time and be patient, especially when working around corners and obstacles. Avoid common mistakes like stretching the paper or leaving air bubbles, and trim excess paper carefully.
If you encounter any challenges or mistakes, don’t panic, as they can often be fixed. With the right tools, techniques, and mindset, you can achieve a beautiful and professional-looking finish that will enhance your home’s decor.

