DIY Makeover: Painting Caulk for a Budget-Friendly Upgrade
DIY DOJO is reader-supported. We may earn an affiliate commission when you buy through links on our site. Find out more.
If you’re looking for an affordable and easy way to give your home a fresh new look, painting caulk might just be the answer. Caulk is often used to seal gaps between surfaces, such as around windows, doors, and baseboards, but it can also be an eyesore if it has discolored over time.
By painting over it, you can transform the look of your room without having to replace the caulk entirely. In this DIY makeover, we’ll explore the step-by-step process of painting caulk and share tips on how to achieve a professional-looking finish on a budget.
Whether you’re a seasoned DIYer or a beginner, this project is an excellent way to add a touch of style to your home.
Should I caulk before or after painting?
If you’re planning to do some home improvement work that involves painting, you may be wondering whether you should caulk before or after painting. The answer to this question depends on the specific circumstances of your project.
In general, it’s best to caulk before you paint. Caulk is a material that is used to fill gaps and cracks between surfaces, which can help to improve the look of your finished paint job. Another reason to caulk before painting is that caulk can be difficult to paint over. If you apply paint over caulk that has not fully dried, the paint may not adhere properly and could result in an uneven finish.
That being said, there are some situations where you may want to caulk after painting. For example, if you notice gaps or cracks in your paint job after it has dried, you can use caulk to fill them in and create a seamless finish.
Ultimately, deciding whether to caulk before or after painting will depend on your specific project and personal preferences. However, in general, it’s a good idea to caulk before painting to ensure a smooth, professional-looking finish.
Types of painting caulk
Painting caulk, also known as acrylic latex caulk, is a versatile material used as a filler to fill cracks and gaps around windows, doors, baseboards, and other surfaces before painting. It can also be used to create a seamless and polished finish on trim, molding, and other surfaces. There are several types of painting caulk available in the market, and each type is designed for specific applications.
Here are the most common types of painting caulk:
- Acrylic latex caulk: This is the most common type of painting caulk, and it is suitable for most interior and exterior applications. Acrylic latex caulk is easy to apply, dries quickly, and can be painted over with most types of paints.
- Silicone caulk: This type of caulk is best for high-moisture areas such as bathrooms and kitchens. It is more flexible and durable than acrylic latex caulk, making it less prone to cracking or shrinking over time. However, silicone caulk can be challenging to paint over, and it may require a specialized primer.
- Butyl rubber caulk: This type of caulk is primarily used for outdoor applications, such as sealing around windows and doors. Butyl rubber caulk is highly weather-resistant, making it ideal for areas that are exposed to extreme temperatures or harsh weather conditions. However, it can be challenging to paint over.
- Hybrid caulk: This is a newer type of caulk that combines the benefits of both silicone and acrylic latex caulk. It is highly flexible, water-resistant, and easy to paint over. Hybrid caulk is an excellent choice for areas that require a high level of durability and flexibility.
When choosing a painting caulk, it is essential to consider the application and the type of surface you will be working on. Some caulks are specifically designed for certain surfaces, such as wood or metal. Additionally, it is essential to select a caulk that matches the color of the surrounding surface, as some caulks may not be paintable or may require a specialized primer.
Best painting caulk
When it comes to painting, using the right caulk can make a huge difference in achieving a professional-looking finish. So, you’re looking for the best painting caulk? Let’s explore some of the top caulk options available on the market. DAP Alex Plus Acrylic Latex Caulk Plus Silicone: One of the most highly recommended painting caulk products is the DAP Alex Plus Acrylic Latex Caulk Plus Silicone. This caulk is ideal for both indoor and outdoor use and is designed to adhere to a wide variety of surfaces. Its paintability is excellent, and it can be used with both oil and latex-based paints. Plus, it is easy to apply and dries quickly, making it a popular choice among DIYers and professional painters alike.
GE Supreme Paintable Silicone Window and Door Caulk: Another popular option is the GE Supreme Paintable Silicone Window and Door Caulk. This decorator’s caulk is specially formulated to be paintable with both oil and latex-based paints, making it an excellent choice for sealing around doors and windows, and other areas that require a durable and waterproof seal. It is also resistant to mold and mildew and can be used in areas with high humidity.
3M Marine Adhesive/Sealant Fast Cure 5200: For those looking for a caulk that can handle larger gaps, the 3M Marine Adhesive/Sealant Fast Cure 5200 is an excellent choice. This caulk is specifically designed for use in marine applications and can be used to seal and bond a wide variety of materials, including fiberglass, metal, and wood. It is highly durable and can withstand both saltwater and freshwater environments. Plus, it is paintable, making it a great option for those looking to achieve a seamless finish.
Ultimately, the best painting caulk for you will depend on your specific needs and the surfaces you’re working with. Consider the type of paint you’re using, the conditions the caulk will be exposed to, and the size of the gaps you need to fill before making a purchase. With the right caulk, you can achieve a professional-looking finish that will last for years to come.
Step-by-step process of painting caulk
Painting over caulk can be a great way to achieve a more polished and best-finished look for your home renovation or painting project. However, it’s essential to follow the proper process to ensure that the paint adheres to the caulk properly and provides a long-lasting finish.
Here’s the step-by-step process of painting caulk:
Step 1: Clean the caulked area: The first step is to clean the caulked area thoroughly with soap and water. You can also use a degreaser to remove any dirt or grease from the surface. Allow the caulk to dry completely before painting.
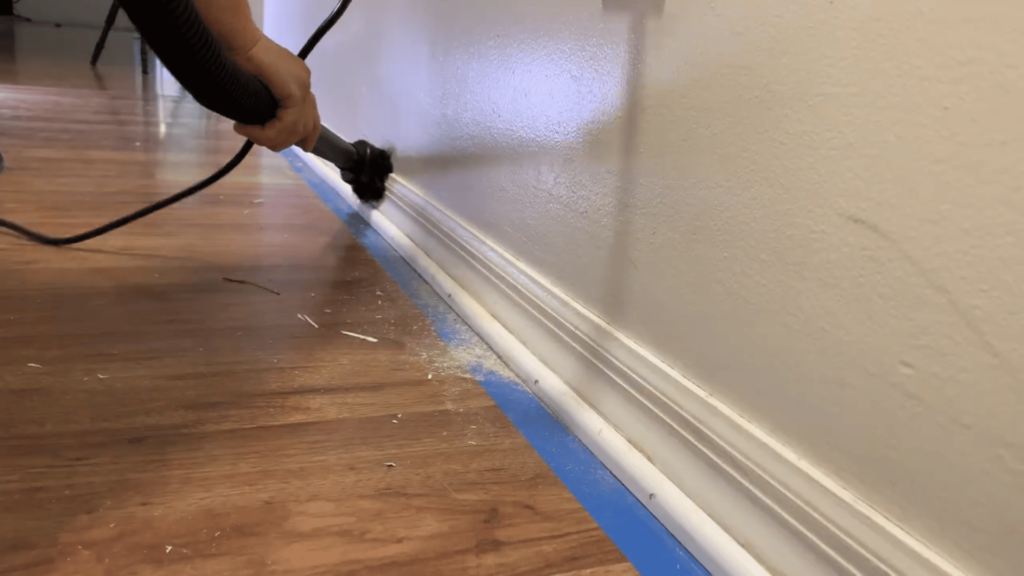
Step 2: Choose the right paint: Select a high-quality paint that is compatible with caulk. Acrylic latex paint is the best option for painting caulk because it’s flexible and can withstand changes in temperature and humidity.
Step 3: Prepare the paint: Stir the paint thoroughly to ensure that the color is consistent throughout. If you’re using spray paint, follow the instructions on the can for best results.
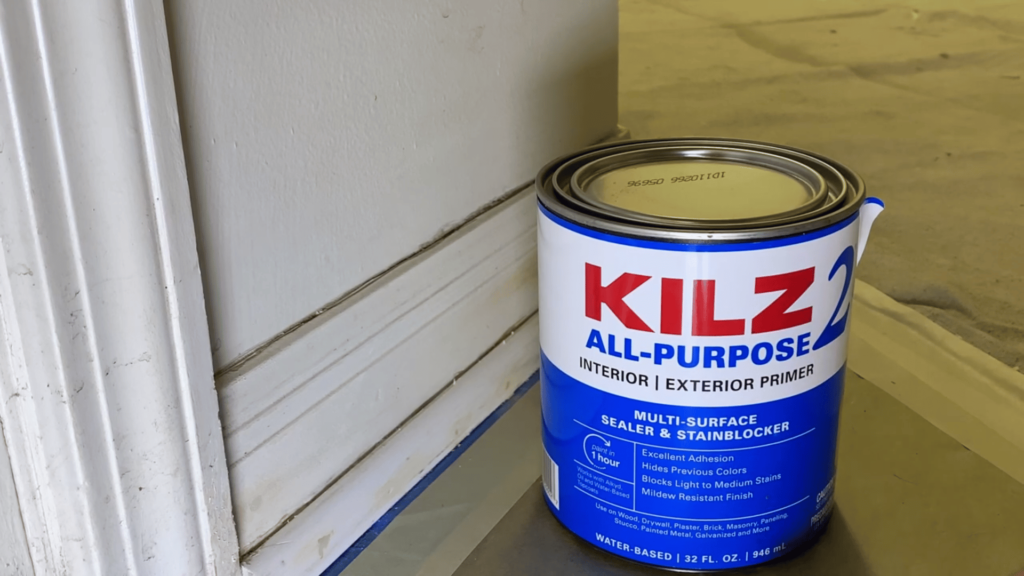
Step 4: Apply the paint: Using a small brush, carefully apply the caulk paint to the caulked area. Start by painting a thin layer of paint along the edges of the caulk, working from top to bottom. Avoid applying too much paint, as it can cause the caulk to crack or peel.
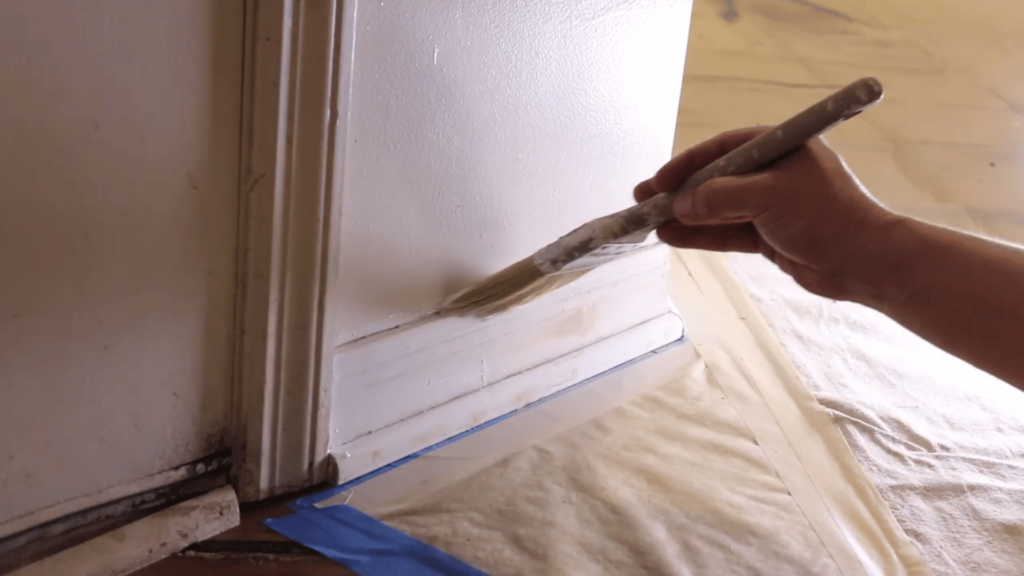
Step 5: Allow the paint to dry: Allow the first coat of paint to dry completely. This can take anywhere from 2-4 hours, depending on the type of paint you’re using.
Step 6: Apply a second coat (optional): If needed, apply a second coat of paint. This will help to ensure that the caulk is completely covered and that the finish is smooth and even. Allow the second coat to dry completely.
Step 7: Clean up: Clean up any excess paint around the caulked area using a damp cloth or sponge.
Following these steps will ensure that your caulk is properly painted and looks great for years to come. Remember to choose high-quality paint and take your time when applying it to the caulked area.
Tips on painting over silicone caulk
Painting over silicone caulk can be tricky as silicone is a non-porous material and does not readily accept paint. However, with the right preparation and techniques, it can be done successfully. Here are some tips to help you paint over silicone caulk:
- Clean the surface: Before you start painting, ensure that the surface is clean and free of any dirt, grime, or dust. Use a solution of warm water and mild detergent to clean the surface thoroughly. Rinse with clean water and allow it to dry completely.
- Sand the caulk: Sanding the silicone caulk will create a rougher surface, which will help the paint adhere better. Use fine-grit sandpaper, and gently sand the caulk until it feels rough to the touch. Be careful not to sand too much, as you may damage the underlying surface.
- Apply a primer: Apply a high-quality primer to the surface, focusing on the caulked areas. A primer will help the caulk adhere better to the silicone caulk. Allow the primer to dry completely before proceeding to the next step.
- Choose the right paint: Choose a paint that is compatible with silicone caulk. Look for paints that are specifically designed for use on silicone or oil-based paint. These types of paint have a better chance of adhering to the caulk and providing a smooth finish.
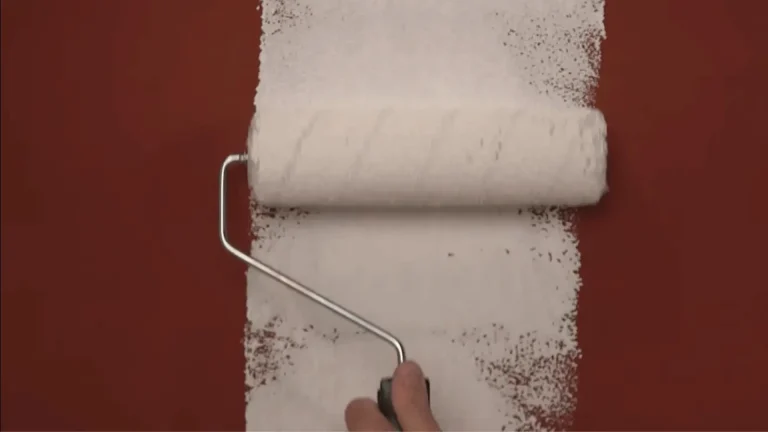
- Apply the paint: Use a high-quality paintbrush or roller to apply caulk paint to the caulked areas. Apply thin, even coats and allow each coat to dry completely before applying the next. You may need to apply multiple coats of paint to achieve the desired coverage.
- Seal the paint: Once the paint has dried completely, apply a clear silicone sealant over the painted area. This will help protect the paint from moisture and UV damage and ensure that it lasts longer.
By following these tips, you can successfully paint over silicone caulk and achieve a smooth, professional-looking finish.
Conclusion:
In conclusion, painting caulk is a budget-friendly and easy DIY makeover that can instantly upgrade the look of any room. With a few simple tools and materials, you can transform old or discolored caulk into a fresh and modern finish that complements your decor.
Whether you’re preparing your home for sale or just looking to refresh your living space, painting caulk is a great way to achieve a polished and professional look without breaking the bank.
So why not give it a try and see how this simple DIY project can enhance the beauty of your home?



One Comment