DIY Guide: How to Remove Woodchip Wallpaper in a Few Hours
DIY DOJO is reader-supported. We may earn an affiliate commission when you buy through links on our site. Find out more.
Are you tired of looking at that outdated and unsightly woodchip wallpaper in your home? Removing it can seem like a daunting task, but with a little bit of know-how and elbow grease, you can have it gone in just a few hours.
In this DIY guide, we will show you step-by-step how to remove woodchip wallpaper, including the tools you will need, the best techniques to use, and some helpful tips to make the process as smooth and easy as possible.
Say goodbye to that old wallpaper and hello to a fresh, updated look for your home!
How to remove woodchip wallpaper with a steamer?
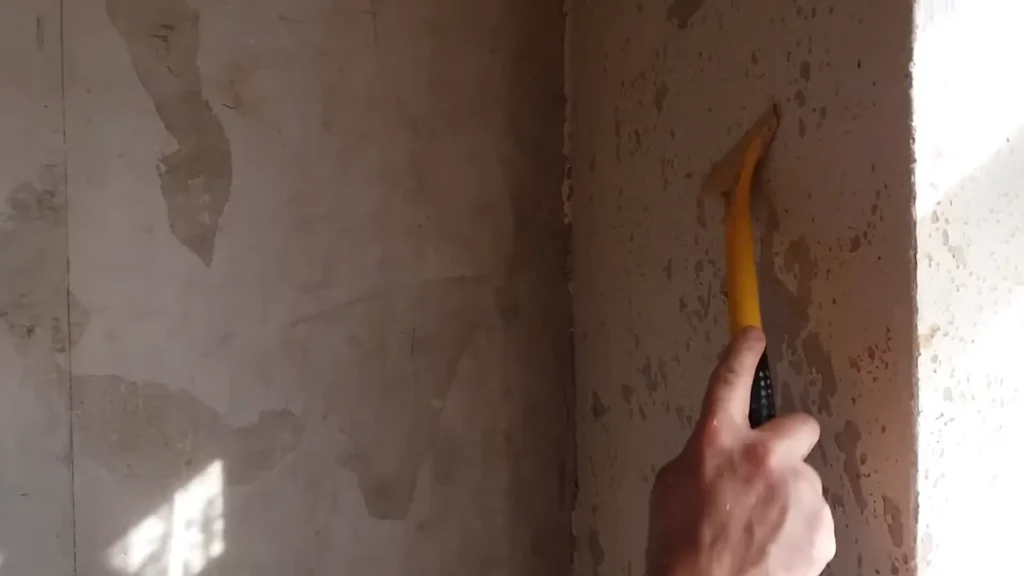
Woodchip wallpaper is a popular choice for home decoration, but when it comes time to remove it, it can be a difficult and time-consuming task. One effective method for removing wood chip wallpaper is to use a steamer. A steamer can help soften the adhesive that holds the wallpaper to the wall, making it easier to remove. Here are the steps you should follow to remove woodchip wallpaper with a steamer:
Prepare the room: Before you begin, you should prepare the room by covering any furniture or floors with plastic sheeting or a dust sheet. This will protect them from the steam and any wallpaper residue that may fall.
Fill the steamer with water: Fill the steamer with water according to the manufacturer’s instructions. Allow the steamer to heat up for a few minutes before you start.
Score the paper: Use a scoring tool to create small perforations in the woodchip paper. This will help the steam penetrate the wallpaper and reach the adhesive.
Steam the wallpaper: Hold the steamer against the wallpaper for a few seconds to allow the steam to penetrate the perforations. Move the steamer around the wall, working on one section at a time. Be careful not to hold the steamer in one place for too long, as this can damage the wall.
Scrape the wallpaper: Once the wallpaper has been steamed, use a scraper to remove it from the wall. Start at the top of the section and work your way down, being careful not to damage the wall.
Repeat: Repeat the process of steaming and scraping until all the wallpaper has been removed.
Clean the walls: Once the wallpaper has been removed, clean the walls with warm soapy water to remove any adhesive residue. Rinse the walls thoroughly and allow them to dry completely before you start redecorating.
Using a steamer to remove woodchip wallpaper can be a quick and effective way to get the job done. Just be sure to take your time, work carefully, and follow all safety precautions to avoid damaging the walls or injuring yourself.
How to remove woodchip wallpaper without a steamer?
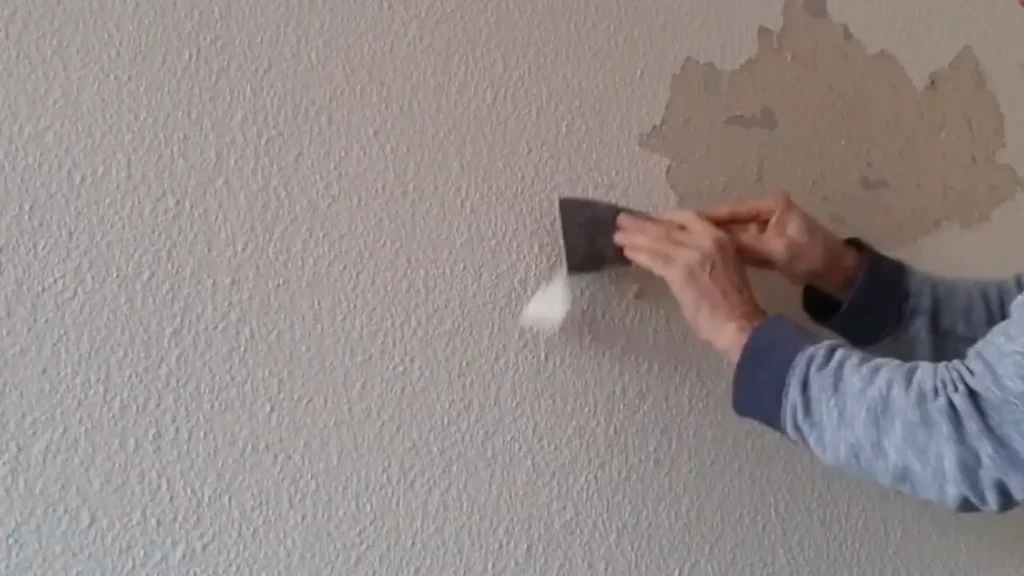
Removing woodchip wallpaper can be a challenging task, especially if you don’t have access to a steamer. However, there are several ways of removing woodchip wallpaper that is effective and budget-friendly. Let’s take a look at some of the best ways to remove woodchip wallpaper without a steamer.
Method 1: Soapy water
One of the simplest ways to remove woodchip wallpaper is by using soapy water. To do this, you’ll need a bucket of warm water and some liquid dish soap. Mix the soap and water together and use a sponge or a rag to apply the solution to the wallpaper. Allow it to soak for a few minutes, then use a scraper to remove the wallpaper. Repeat the process as needed until all the wallpaper is removed.
Method 2: Vinegar and water
Vinegar is another effective solution for removing woodchip wallpaper. Mix equal parts of water and white vinegar in a spray bottle and apply it to the wallpaper. Allow the solution to soak for 15-20 minutes before using a scraper to remove the wallpaper. If the wallpaper is stubborn, you can add a few drops of dish soap to the solution to help break down the adhesive.
Method 3: Fabric softener
Another solution that works well is fabric softener. Mix one part fabric softener with four parts hot water in a spray bottle and apply it to the wallpaper. Allow the solution to soak for 15-20 minutes before using a scraper to remove the wallpaper. Fabric softener is an effective solution because it helps to loosen the adhesive that holds the wallpaper in place.
Method 4: Hot water
Using hot water is another option for removing woodchip wallpaper. Start by filling a bucket with hot water and use a sponge or a rag to apply it to the wallpaper. Allow the water to soak into the wallpaper for a few minutes before using a scraper to remove it. This method can be time-consuming, but it’s an effective way to remove the wallpaper without a steamer.
In conclusion, removing woodchip wallpaper without a steamer is possible. By using soapy water, vinegar, water, fabric softener, or hot water, you can effectively remove the wallpaper without damaging the walls or spending a lot of money on equipment.
How to remove woodchip wallpaper from plasterboard?
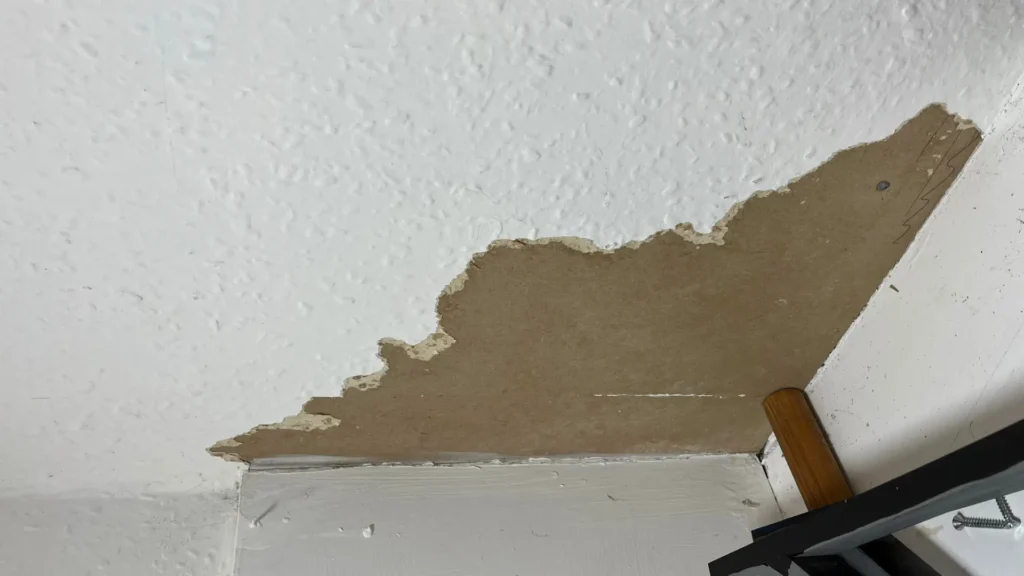
Removing woodchip wallpaper from plasterboard can be a challenging task, but with the right tools and techniques, it is achievable. Here are the steps to follow to remove woodchip wallpaper from plasterboard:
Prepare the Room: Before you start removing the wallpaper plaster, it’s essential to prepare the room. Cover the floor with a drop cloth or plastic sheeting to protect it from water, wallpaper paste, and debris.
Score the Wallpaper: Use a wallpaper scorer or a sharp tool to score the surface of the woodchip wallpaper. This will allow the water to penetrate the layer of paper and loosen the adhesive.
Apply Hot Water: Use a sponge or a sprayer to apply hot water to the wallpaper. Make sure the water is hot enough to break down the wallpaper adhesive, but not so hot that it damages the plasterboard underneath.
Wait and Scrape: After applying hot water, wait for 10 to 15 minutes for the water to penetrate the wallpaper. Use a scraper to remove the wallpaper starting from the top and working your way down. Be gentle while scraping to avoid damaging the plasterboard.
Remove Remaining Glue: After removing the wallpaper, you may notice some glue residue left behind. Use a solution of warm water and dish soap or vinegar to remove the remaining glue. Apply the solution with a sponge and let it sit for a few minutes before scraping off the glue with a scraper.
Sand the Wall: Once the wallpaper and glue are removed, and the wall with a sanding block or sandpaper to smooth out any rough areas or bumps.
Clean up: Finally, clean up the room by removing the drop cloths, sweeping up any debris, and disposing of the wallpaper and glue properly.
In conclusion, removing woodchip wallpaper from plasterboard requires some effort, but it’s achievable. Follow these steps carefully, and you’ll be left with a clean and smooth wall ready for your new wallpaper or paint.
Best way to remove woodchip wallpaper from ceiling

Removing woodchip wallpaper from a ceiling can be a challenging task, but there are several effective ways to get it done. Here are some of the best methods for removing woodchip wallpaper from a ceiling:
Scrape it off: One of the most common methods of removing woodchip wallpaper from a ceiling is by using a wallpaper scraper. First, use a perforating tool to puncture the wallpaper surface. Then, use a scraper to gently scrape the top layer of paper. Be careful not to damage the ceiling while doing so.
Steam it off: Another effective way to remove woodchip wallpaper from a ceiling is by steaming wallpaper. You can rent a wallpaper steamer from a local hardware store. Simply hold the steamer against the wallpaper for a few seconds, and the steam will loosen the paper adhesion. Then, use a scraper for removing woodchip from a ceiling.
Soak it off: If the woodchip wallpaper is particularly stubborn, you can try soaking it off with a solution of hot water and fabric softener. Mix one part fabric softener with four parts hot water in a spray bottle. Spray the solution onto the wallpaper and let it sit for about 15 minutes. Then, use a scraper to remove the wallpaper.
Use a wallpaper stripper: Another option is to use a wallpaper stripper, which is a chemical solution that dissolves the old adhesive on the wallpaper. Apply the wallpaper stripper to strip woodchip wallpaper using a paintbrush, and let it sit for the recommended time. Then, use a scraper to remove the paper after stripping the wallpaper.
Hire a professional: If you’re not confident in your ability to remove the woodchip wallpaper from the ceiling, or if the ceiling is very high, it may be best to hire a professional to do the job for you. A professional will have the right tools and experience to safely and effectively remove the wallpaper.
In conclusion, removing woodchip wallpaper from a ceiling can be a tedious process, but with the right tools and techniques, it can be done effectively. Just be patient and take your time to ensure that you don’t damage the ceiling or injure yourself in the process.
How much does woodchip wallpaper removal cost?
The cost of woodchip wallpaper removal can vary depending on several factors, including the size of the room, the condition of the walls, the location, and the professional you hire. On average, the cost can range from $1 to $4 per square foot for labor and materials. For a standard-sized room of 10×12 feet with woodchip wallpaper on all walls, the cost can be estimated at $300 to $1200 for professional removal. However, additional charges may apply for extra labor-intensive tasks, such as repairing wall damage or multiple top layers of wallpaper. It’s recommended to get quotes from multiple professionals to get a more accurate estimate for your specific situation.
Conclusion:
In conclusion, removing woodchip wallpaper can seem like a daunting task, but with the right DIY guide and a few hours of dedication, you can transform your space and achieve a fresh, updated look. By following the step-by-step instructions outlined in this guide, you’ll be able to tackle this home improvement project with confidence and efficiency.
From gathering the necessary tools to preparing the walls, scoring and stripping the wallpaper, and cleaning up the debris, you’ll be well on your way to a smooth, woodchip-free surface. So roll up your sleeves, put on your DIY hat, and get ready to transform your space into a blank canvas for your creative ideas.
With patience, perseverance, and the tips provided in this guide, you’ll be proud of your accomplishment and enjoy the satisfying results of a job well done. Happy wallpaper removal!

Can you be more specific about the content of your article? After reading it, I still have some doubts. Hope you can help me.